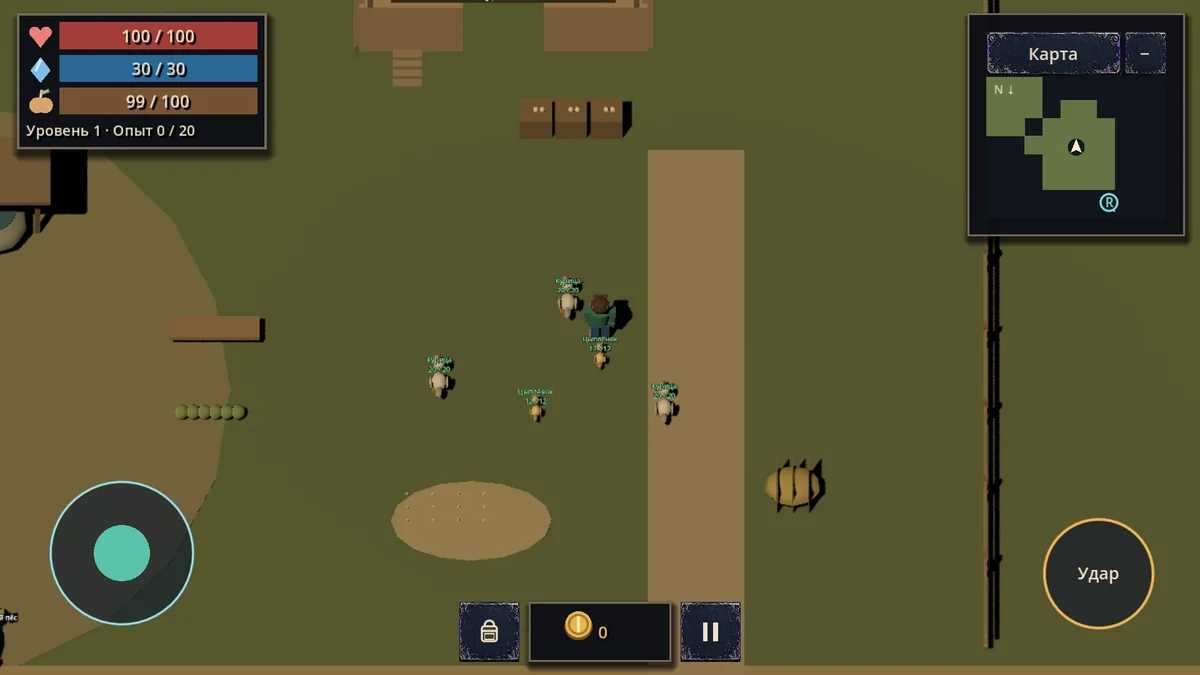
West of the forest lie the Green Farmlands. Help Miron repair the trough and mill, harvest crops and collect milk and eggs. A visit makes a quieter break between expeditions and can give you provisions for the next one.
The farm belongs to its residents. Helping earns rewards and permission to work there. It doesn't give you a plot to build on freely.
Speak to Miron first
Ask for permission to use the farm or accept one of his jobs. Either gives you access to the harvest. Going straight to a bed of ripe vegetables won't let you pick them without permission.
The jobs are separate stories. Read their objectives, choose a nearby task and track it in your journal and on the map. Return to Miron to claim the reward for each job you've accepted and completed.
Set aside some materials before travelling. Repairing both the trough and the mill takes a total of 10 wood and 5 scrap metal. You can do them on different visits, but carrying the full amount saves a trip.
Five jobs on the farm
The following objectives and rewards reveal the farm's short quest stories. Skip to collecting produce if you'd like to discover them yourself.
Buryonka beyond the fence. Find the missing cow near the western pasture, examine her and report back. Miron will take her home himself. Reward: 35 coins.
Water for the herd. Bring 4 wood and 2 scrap to the trough, repair it and collect 30 coins from Miron. Filling the feeders is a separate activity.
Thief in the night. Examine the tracks and find out what's been taking the eggs. You can finish the investigation without killing the fox. Miron pays 25 coins for the answer.
Stolen harvest. Go to the rustlers' camp. Both guards must be defeated before you can take the sacks. Recovering the crop yields 6 grain. Turning the job in earns another 50 coins.
Grinding again. Repair the mill drive with 6 wood and 3 scrap. Grind 4 flour, take it to the grocery by the village gate, then return to Miron for 45 coins. The first delivery is part of the job.
Each job pays out once. Crops and animal products can be collected again when they're ready.
Collecting eggs, milk and crops
Fill the feeders for milk and eggs. One feed lasts 10 minutes of game time. Aglaya sells it for 3 coins. While the feeders are full you don't need another portion.
| Source | Yield per collection | Time until ready again |
|---|---|---|
| Henhouse nests | 3 eggs | 10 game minutes |
| Milking spot | 2 milk | 10 game minutes |
| Carrot bed | 4 carrots | 15 game minutes |
| Potato bed | 4 potatoes | 15 game minutes |
| Wheat | 6 grain and 2 straw | 15 game minutes |
These timers run in game time. Closing the app and waiting in real time won't grow a new crop. Feeding and produce have separate timers, so you may need to refill the feeders before the next milk or eggs are ready.
You can collect produce without buying a sickle, pitchfork or hammer. Approach the spot and use the offered interaction. Finish the harvesting or processing action to receive the result.
Take care of the animals
Milk depends on the milking cow being alive, eggs on surviving hens. Domestic animals stay dead. The farm doesn't currently let you breed or buy replacement stock. Take your hunting trips elsewhere if you want to keep collecting produce.
The lost cow deserves care as well. If she dies, you can tell Miron what happened. Turning in the job won't bring her back.
Flour, cheese and supplies for the road
Once repaired, the mill makes 2 flour from 2 grain per batch. Make two batches for the first delivery. Both grain and flour are materials.
At Aglaya's you can turn 2 milk into 1 cheese. Eggs, milk, potatoes and cheese don't suit every character. A feline character can't eat them. Read the item description before relying on a product for your next journey.
Reserve the flour for the delivery and check other jobs before selling a whole harvest. Collect what's ready, finish a nearby job, take the reward and sell what you can spare. You can make progress elsewhere while the next harvest grows.