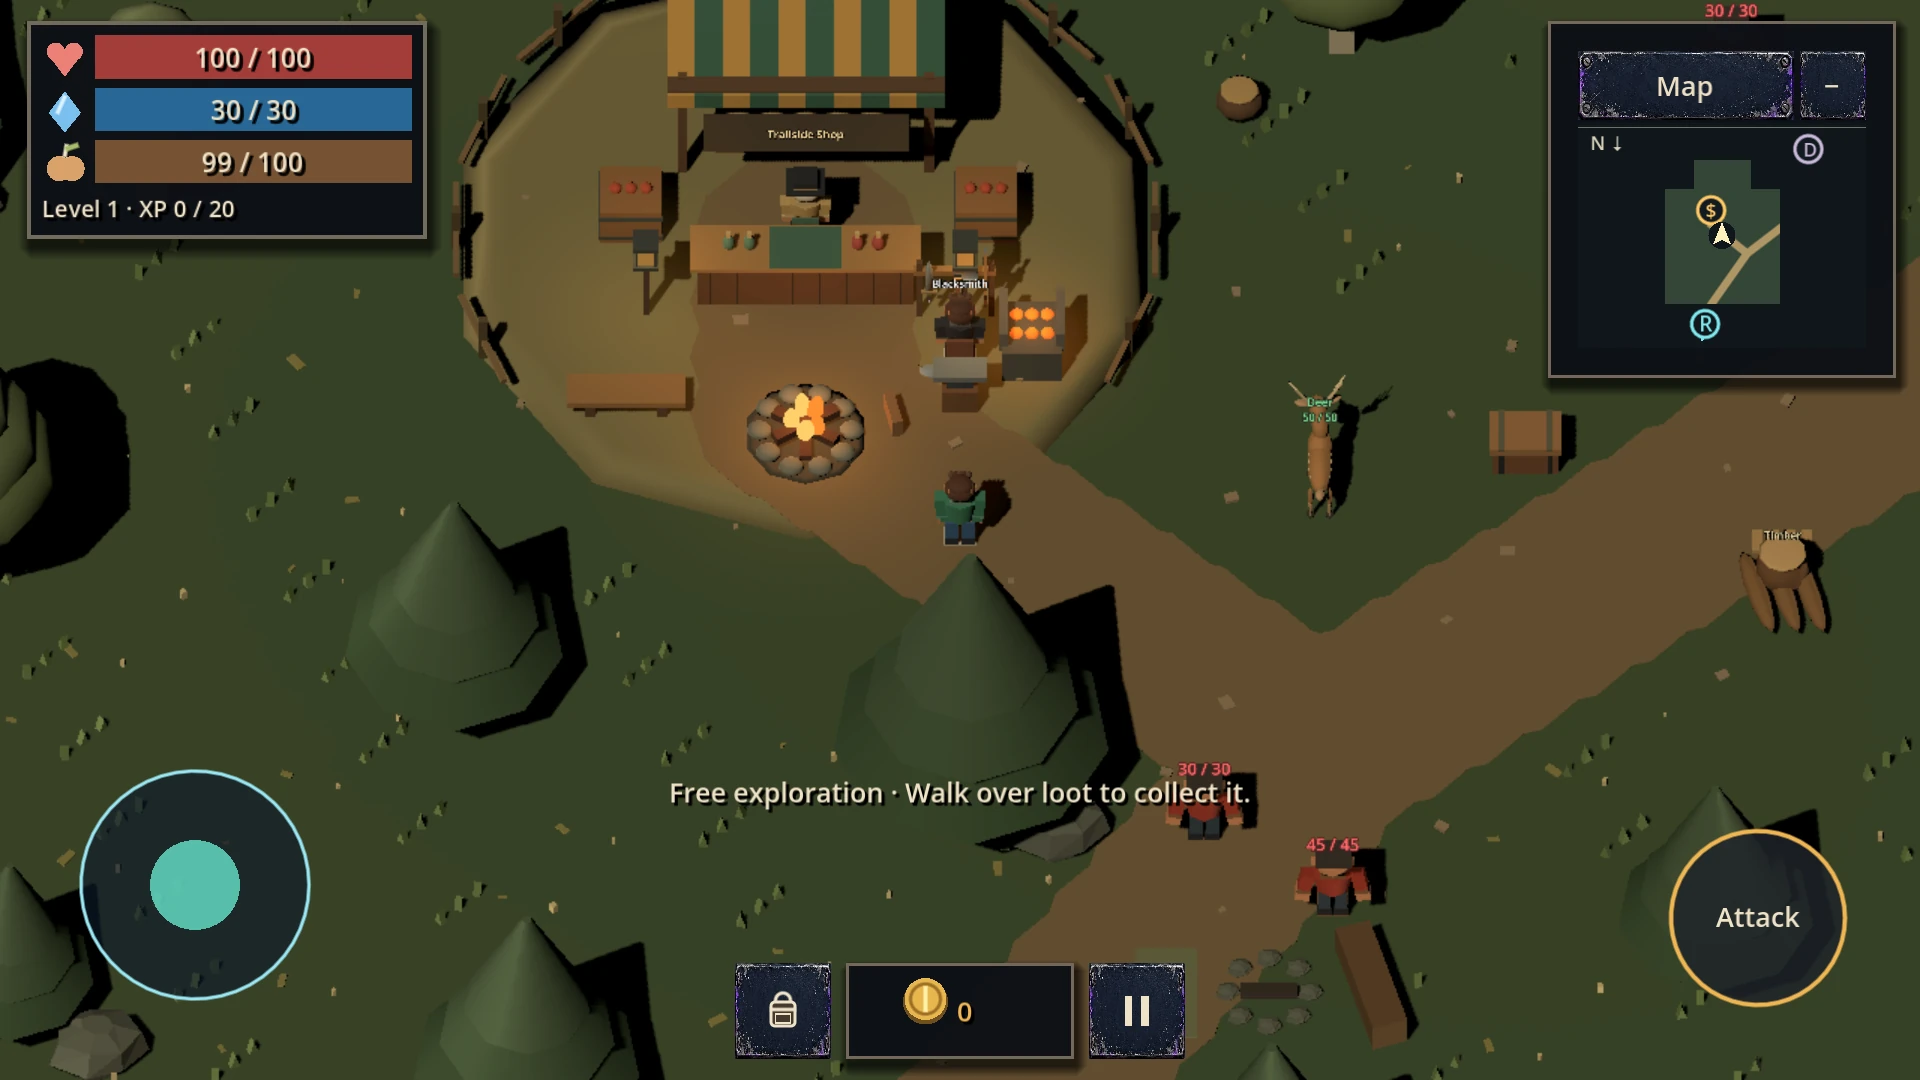
Open World is a separate mode with its own character, quests, inventory and progression. You do not start everything over after each fight as you do between Campaign runs. Before travelling far, learn how equipment, food and saving work. You can choose this mode separately without finishing Campaign. There are three character save slots.
Start with a conversation in the dungeon
Your first helper is the old man in the dungeon. Talk to him and accept his help to receive a starting weapon, food, water and a medkit.
The stick is your first weapon and is equipped immediately. An apple or fish restores satiety; feline characters receive fish. Water also restores satiety, while the medkit restores up to 50 HP.
The first task introduces combat: deal with the bouncer, then return to the old man. Do not stand in front of the enemy as he prepares a strike. Step away, wait for an opening and attack.
The reward is 5 coins and a vest. The vest is not equipped automatically: open your inventory and equip it yourself.
Check your equipment before leaving
An item in your backpack is not the same as an equipped item. Found weapons and armour do not help until you equip them.
Before leaving, check your weapon, armour and helmet: is the stick or another suitable weapon selected, is the vest equipped, and do you have something for the helmet slot?
The starting vest adds 25 maximum health. This increases your HP pool; it does not promise to reduce every incoming hit.
Read new items’ properties. Heavier armour may provide more health but reduce speed. Consider ammunition for ranged weapons and mana for magic. Do not rush to sell every find: some items will be useful for crafting or later tasks.
Read the guidebook
After the initial task, a guidebook becomes available in the dungeon. Reading is optional, but it is a useful way to learn the mechanics before heading outside.
It covers controls, the map, quests, food, combat, equipment, trade, crafting and other activities. Read individual topics and return later. Health and food, equipment and the map are especially useful before your first trip.
Where to go outside
Outside, you can head to the western clearing and its merchant or north along the road towards the village. These are landmarks to help you explore, not a required order.
The merchant asks you to return supplies. Handing them in earns 30 coins.
The supplies are guarded. You can take them before defeating the guards, but living guards will chase you. Check your health and escape route beforehand rather than expecting a safe pickup.
If you find the supplies before speaking to the merchant, he can accept them later. Picking them up does not automatically accept the quest.
Use the journal and map
The journal lists accepted quests, their status and current objectives. If a conversation leaves you unsure what to do, read the quest entry.
You can track an available quest. The map helps you navigate explored terrain, and personal markers are useful for places you want to revisit.
You do not have to remember the entire route. Before leaving a safe place, check your objective, direction and supplies.
Satiety supports recovery
Satiety gradually decreases, and health and mana recovery consume more of it. While you have satiety, your character can recover. At zero, normal recovery stops and starvation eventually starts dealing damage.
Rest helps you recover but also consumes satiety. It does not replace food.
Stats cannot exceed their maximum. Avoid wasting a large portion to fill a small gap when you have a long journey ahead.
| Item | Effect |
|---|---|
| Apple | +25 satiety |
| Fish | +20 satiety |
| Water | +15 satiety |
| Medkit | Up to +50 HP |
Check your character’s diet
Not every food suits every species. A feline character eats meat and fish but cannot use an ordinary apple, which is why their starting supplies differ.
Check item restrictions in your inventory before buying provisions. Water and medicine do not have these food restrictions.
Food and medicine serve different purposes: an apple restores satiety, while a medkit directly restores health. One does not always replace the other.
Surviving your first fights
At first, learn how one enemy behaves rather than gathering several groups. Watch for attack preparation and leave room to retreat.
If a fight goes badly, try to leave the dangerous position first. Having a medkit in your backpack does not replace finding a safe moment to use it.
Before entering a new area, check equipped weapons and armour, food, healing items, ammunition, health and mana. Know your objective and route back.
After death, you respawn with 20% of maximum health and mana. Recover and check supplies before returning to combat. Your return location depends on the saved respawn point.
Protecting your progress
Progress belongs to the selected slot: items, quests, decisions, character development and the explored map are stored there.
The game saves locally first. Version 1.4.6 supports Google Play Games sync on Android; it depends on your connection, account and service availability.
Check sync status before switching devices. You can also export a backup and keep the file separately.
If asked to choose between local and cloud progress, compare the details before confirming. An older save can restore an earlier state of your quests and inventory.
A plan for your first session
Talk to the old man, collect supplies and finish the first task. Return for the reward, equip the vest and read the guidebook. Outside, find the merchant, review his quest and try the journal and map.
Then choose your own route. Set out with equipment actually equipped, suitable food and a clear current objective.